
If you’re running a WordPress site, getting your SEO basics right is non-negotiable. And one of the most powerful tools to help you do that is Yoast SEO.
But here’s the problem: most beginners install it… and never fully set it up correctly.
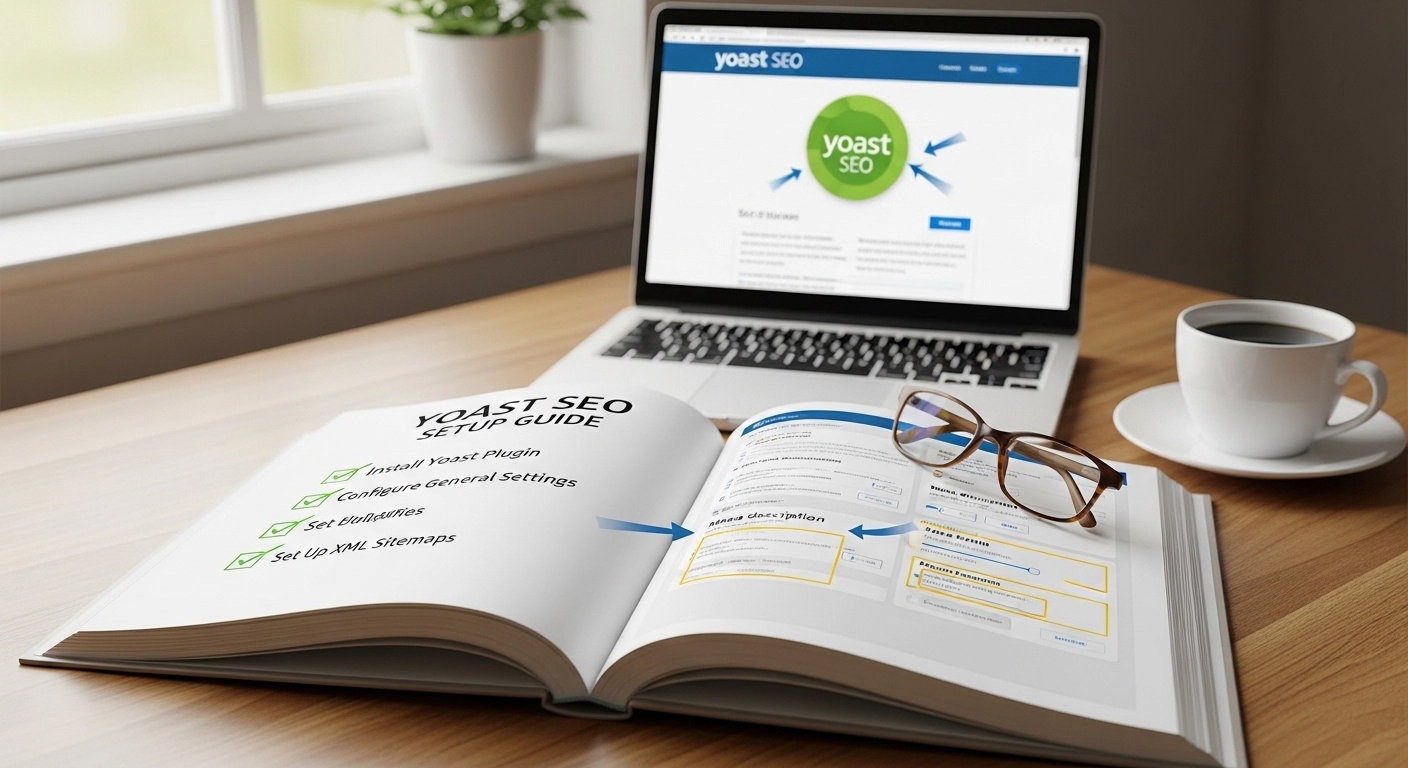
This guide fixes that.
Below is a complete, practical Yoast SEO setup walkthrough designed to help you configure everything the right way—so your content becomes easier to rank, index, and optimize from day one.
What is Yoast SEO and Why It Matters?
Yoast SEO is a WordPress plugin that helps you optimize your website for search engines like Google. It improves how your pages appear in search results, guides your content optimization, and helps search engines understand your site structure.
In simple terms:
- It tells Google what your content is about
- It helps you write better SEO-friendly content
- It improves technical SEO without coding
But only if it’s set up correctly.
Step 1: Install and Activate Yoast SEO
Start with the basics.
- Go to your WordPress dashboard
- Click Plugins → Add New
- Search for “Yoast SEO”
- Click Install Now
- Then click Activate
Once activated, you’ll see a new SEO tab in your dashboard menu.
Step 2: Run the First-Time Configuration Wizard
After activation, Yoast usually prompts you to run a configuration wizard.
This is important.
The wizard helps you set:
- Site type (blog, business, shop, etc.)
- Organization or personal brand details
- Search engine visibility settings
- Multiple authors or single author setup
Pro Tip:
Choose your site type carefully. It affects how your SEO data is structured.
Step 3: General Settings (Get This Right First)
Go to Yoast SEO → Settings → General
Here’s what to focus on:
Site Features
Turn ON:
- SEO analysis
- Readability analysis
- XML sitemaps
- Schema settings
Turn OFF anything you don’t use (keep things lightweight).
Site Representation
Make sure your site name, logo, and identity are correctly set. This helps Google understand your brand.
Step 4: Configure Search Appearance
This is where many beginners make mistakes.
Go to Search Appearance settings.
Homepage SEO
- Write a clear SEO title (not just your site name)
- Add a compelling meta description
Example:
Instead of:
“Home – My Website”
Use:
“Affordable Digital Marketing Tips & SEO Guides for Beginners”
Content Types (Posts & Pages)
Control how your posts appear in search results:
- SEO title template: Keep it clean
- Meta description: Write manually when possible
- Show in search results: YES (for important content)
Avoid duplicate or auto-generated descriptions everywhere.
Step 5: XML Sitemap Setup
Sitemaps help Google crawl your site efficiently.
Go to:
Yoast SEO → Settings → Site Features → XML Sitemaps
Make sure it’s enabled.
Then submit your sitemap to Google Search Console:
- Your sitemap URL usually looks like:
yourdomain.com/sitemap_index.xml
This step is essential for indexing.
Step 6: Social Media Integration
Yoast allows you to connect your site to social platforms.
Go to:
Search Appearance → Social
Add:
- Facebook page
- Twitter profile
- Pinterest or other platforms
This ensures your content shows properly when shared.
Step 7: Webmaster Tools Verification
You should connect your site to:
- Google Search Console
- Bing Webmaster Tools
Yoast makes this easy by allowing verification codes.
Why this matters:
You get indexing data, keyword insights, and site performance reports.
Step 8: Optimize Individual Posts (The Real SEO Power)
Once setup is done, the real work happens in your content editor.
For every post:
Focus Keyphrase
Choose a primary keyword (like “Yoast SEO setup guide”).
SEO Analysis Checklist:
- Use keyword in title
- Add keyword in first paragraph
- Use it in at least one subheading
- Keep URL short and clean
Readability Tips:
- Use short sentences
- Break paragraphs often
- Use transition words
- Avoid passive voice
Snippet Preview:
Always check how your post appears in Google results.
Step 9: Schema Settings (Hidden SEO Boost)
Schema helps Google understand your content type.
Yoast automatically adds schema markup like:
- Articles
- Blog posts
- Organization info
Make sure:
- Your site identity is correctly defined
- Content types are properly labeled
This improves rich snippets and visibility.
Common Yoast SEO Mistakes to Avoid
Many beginners lose rankings because of simple errors:
- Leaving default meta descriptions everywhere
- Ignoring sitemap submission
- Over-optimizing with keywords
- Disabling readability analysis
- Using duplicate SEO titles
Avoid these, and you’ll already be ahead of most websites.
FAQ – Yoast SEO Setup Guide
1. Is Yoast SEO free?
Yes, the free version is powerful enough for most beginners and small websites.
2. Do I need coding skills to use Yoast SEO?
No. Everything is beginner-friendly and works through settings and toggles.
3. How long does Yoast SEO take to work?
You may see indexing improvements in a few days, but ranking improvements depend on your content quality and competition.
4. Can Yoast SEO guarantee rankings?
No tool can guarantee rankings. It only helps you optimize your content correctly.
5. Should I use Yoast SEO with other plugins?
Yes, but avoid overlapping SEO plugins to prevent conflicts.
Conclusion
Setting up Yoast SEO properly is one of the easiest ways to build a strong SEO foundation for your WordPress site. But the difference between average results and real growth lies in how well you configure it—not just install it.
When optimized correctly, Yoast helps you create search-friendly content, improve visibility, and build long-term organic traffic.